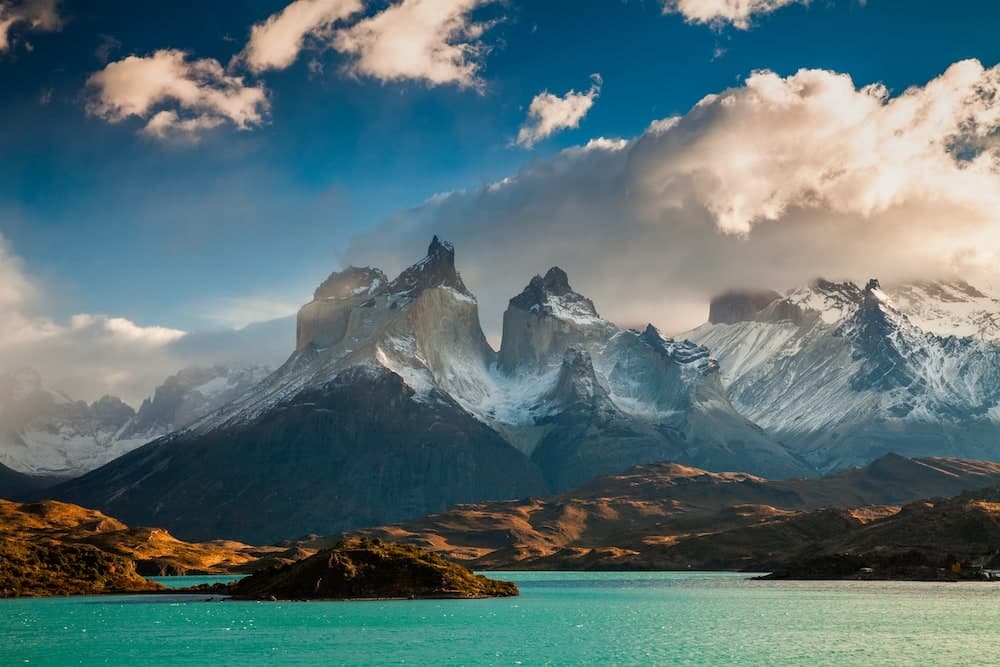
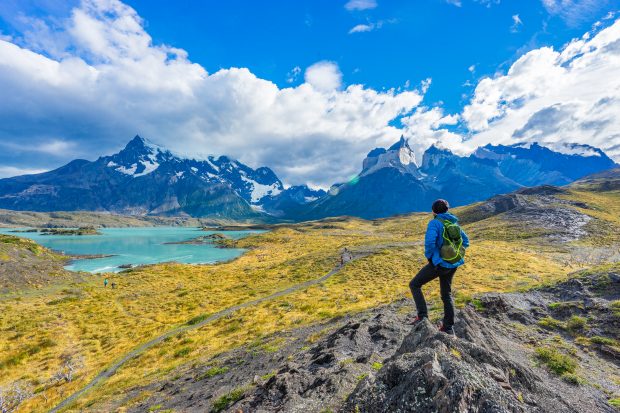
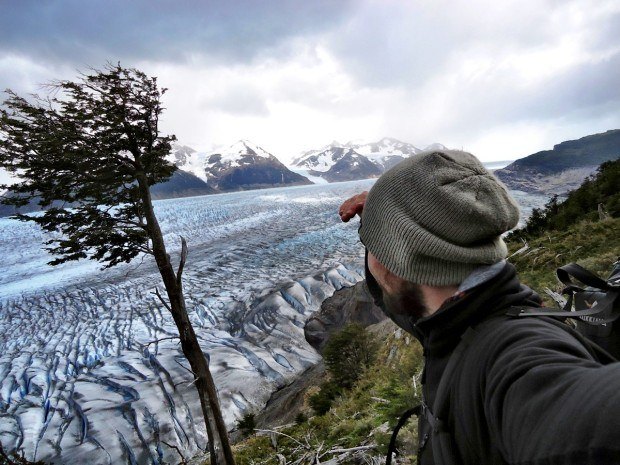
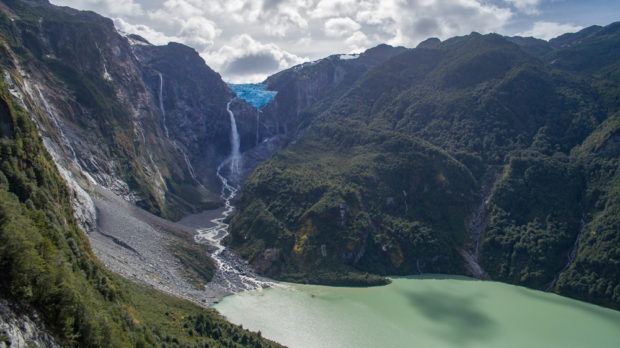
The Torres del Paine National Park in Chile is without a doubt one of the most breathtaking hiking areas in the world. Therefore this popular national park is a must among the places to visit in Patagonia. In this guide, I'll share everything you need to know to explore the park with all its trails on your own.
During my second time backpacking in Chile, I immediately fell in love with the impressive landscape. Since then, I've completed the “O” circuit route in Torres del Paine twice. My latest visit was on another trip to Patagonia in 2023. Since my first visit, the park has become increasingly popular, with most campgrounds and accommodations booked out at the start of the season. Here, I'll share my tips for preparation and highlight numerous alternatives to the two popular routes.
1. Location & Access
The usual starting point for a trip to Torres del Paine National Park is the small town of Puerto Natales in Chile. It is located 122 km south of the national park and has regular bus connections from the local bus terminal. The nearest airport is 7 km northeast of the town (IATA code: PNT), while another airport is about a three-hour bus ride away in Punta Arenas (IATA code: PUQ).
Traveling from Argentina is also possible. However, the airport in El Calafate (IATA code: FTE) is about a 5 to 6-hour bus ride away, depending on border wait times.
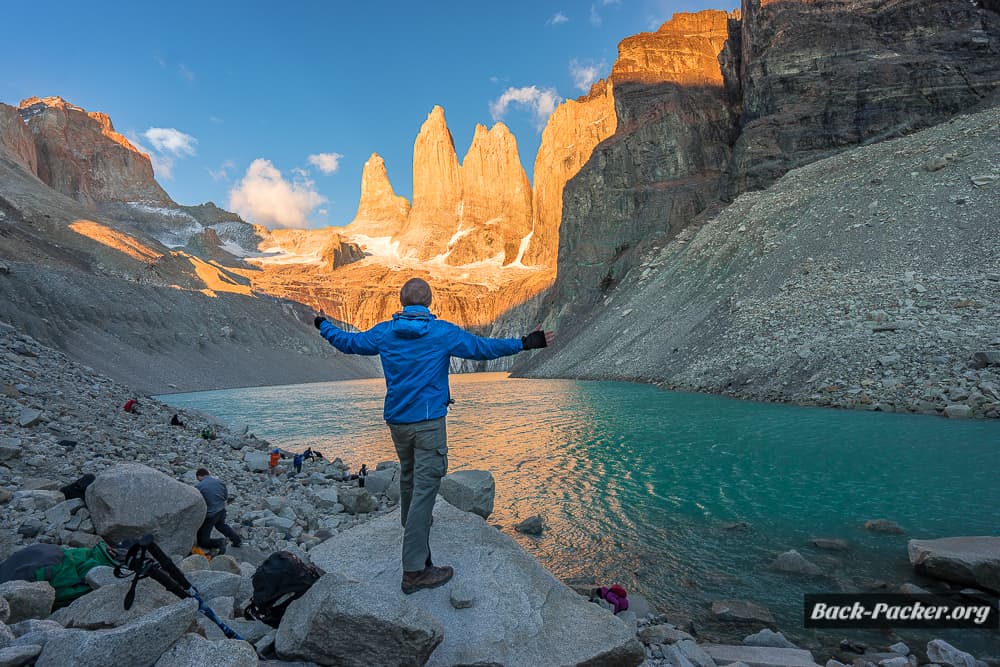
a) Getting There
You have 3 options for reaching the national park: by rental car, by bus, or with an organized tour.
Bus
Round-trip ticket prices range between €25 and €45, depending on the destination and provider. Buses run multiple times daily toward the park and take around 2–2.5 hours to reach the main entrance (Laguna Amarga). Tickets can be booked directly at the bus terminal, online, or sometimes through your accommodation.
In addition to the main entrance, buses also stop at other locations within the park: the first stop is after about an hour at Pudeto (where you can take the ferry to Paine Grande to reach the W trail), the Administration Area about two hours after entering the park, and Sector Grey (Hotel Lago Grey & Río Pingo) another 30 minutes later. Keep in mind that additional stops significantly increase travel time and ticket costs. However, they also allow for individual day hikes.
Bus companies with regular services: Buses Gómez, Buses Fernández, Turismo Zaahj, and Bus Sur (also from Punta Arenas).
Rental Car
Having your own vehicle gives you complete flexibility to plan your time in the park and to get to the trail heads. Due to high demand, you should book a rental car in advance online, either in Punta Arenas or Puerto Natales to secure the best deal.
Be warned: Rental car prices in Patagonia are steep. However, you can team up with other travelers to split the cost.
Organized Tours
See 6) Guided Hikes for tour packages and guided trekking options.

b) Transport inside the Park
Boat (Pudeto – Paine Grande)
Within the park, you can take the mentioned boat that connects Pudeto with the Paine Grande Refugio & Camp. The catamaran costs $30 USD per trip, and you can book your ticket through an online booking system.
The boat operates from December to February with departures from Pudeto at 08:30, 10:30, 16:15, and 18:00. The return trips from Paine Grande are at 09:20, 11:20, 17:00, and 18:40. In the shoulder season (September/October/April), service is less frequent. Boarding always begins 30 minutes before departure.
Shuttle
Another transport option inside the park is the mini shuttle, which runs between the park entrance and Hotel Las Torres. When you arrive at the park, you can simply walk to the shuttle, pay 3,000 CLP, and get to the hotel and the starting point for the trail to the famous Torres hike within a few minutes. The return shuttle operates 30–45 minutes before the departure of the main buses at the park entrance.
Boat (Lago Grey, optional: Refugio Grey)
This is a more expensive option, but it allows direct access to Refugio Grey along with a glacier tour. First, take a bus to Hotel Lago Grey, then board the boat. You must book the round-trip option for €110 in advance, which includes the return trip with a glacier sightseeing experience. The boat service is operated by Hotel Lago Grey, so staying at the hotel is a convenient option.

2. Huts & Campsites
The park’s infrastructure is well-developed, so you can plan your trek without bringing a tent by staying in huts (refugios). BUT: This is quite expensive!
I recommend bringing your own tent (see below) or renting one in Puerto Natales before you hit the trail.
For all the options listed below, you should book well in advance. Demand for the park is high, and most campgrounds as well as refugios are fully booked months ahead. If you're too late, your only option will be an organized multi-day trip (see further below).
Please note: Cooking is only allowed at designated campsites and refugios. Open fires are strictly prohibited throughout the park. Wild camping is also forbidden to protect nature despite the high number of visitors.
a) Refugios & Domes
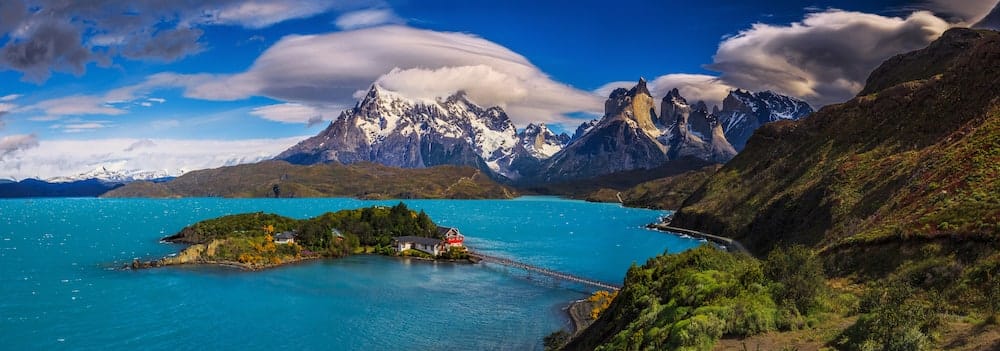
A bed in a shared dormitory at a refugio costs between $45 and $125 USD. Breakfast is charged seperately ($30 USD), and you must bring your own sleeping bag or rent them separately. Booking well in advance is highly recommended.
The larger refugios offer additional services beyond accommodation: tent rentals, a restaurant (both require pre-booking), small kiosks, electricity, and in some cases, a bar and WiFi (which is expensive and slow).
Refugios operated by Las Torres Patagonia:
Los Cuernos, Torre Central (next to Hotel Las Torres), and Francés.
Refugios operated by Vertice Patagonia:
Dickson, Paine Grande, and Grey.

b) Free Campsites
The free camp of Las Torres, Italiano, and Paso in Torres del Paine National Park have either been permanently closed or are under renovation. I highly doubt that one of these campgrounds will ever reopen.
c) Paid Campsites
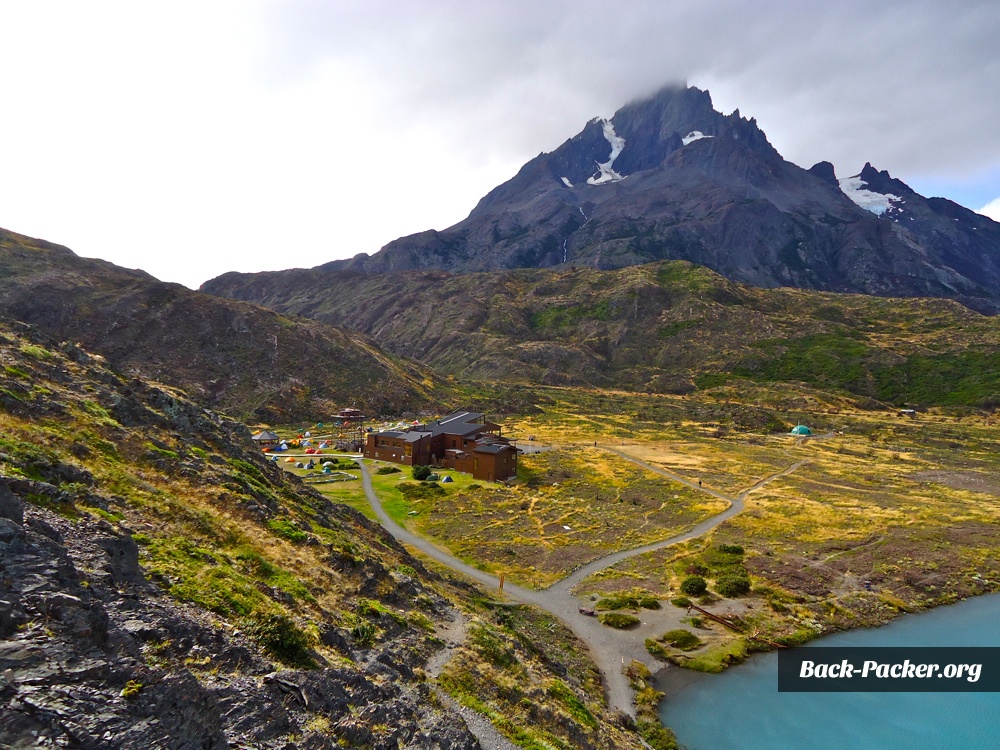
There are two types of paid campsites: standalone campsites and a camp that is attached to refugios. Prices vary depending on the provider.
The differences can be found at the facilities:
Standalone campsites offer >toilets, cooking areas, showers, and fresh water (some also have a small kiosk).
At refugios, you’ll also find restaurants, a mini-market, and sometimes power outlets to charge cameras and other devices. Additionally, you can rent tents, sleeping bags, and mattresses.
Update 2024/25:
All camp spots on the “W” and “O” circuits require reservations—without a valid reservation, you are not allowed to start the trek.
While Vertice Patagonia has slightly reduced its prices, Las Torres Patagonia has significantly increased them.
At Los Cuernos and Chileno, only platform camping with full board is available. Alternative options include Francés and Torre Central.
If a camp is fully booked for your planned dates, you cannot do the related trek. Your only alternatives are to book a tour package (these have separate contingents but are also in high demand) or plan a combination of day hikes in torres del paine.
All paid campgrounds with prices (per night, per person):
- Vertice:
Paine Grande ($13 USD), Grey ($11 USD), Dickson ($11 USD), Los Perros ($11 USD) - Las Torres:
Central (camp next to Hotel Las Torres), Chileno, Los Cuernos, Francés, Serón (all $35–40 USD)
Please note: Always take your trash with you and never wash dishes directly in streams—do so a few meters away. Please follow these rules strictly and remind others as well—this is crucial for preserving this beautiful national park.
My Conclusion
Despite all these years, the park administration still hasn’t managed to set up a centralized booking system for the different operators. If you want to book your own trek with camps, transport, and park entry, you may need to navigate up to four or five different booking platforms.
Planning the W-Trek or O-Circuit just a few months in advance has become nearly impossible, as spots fill up extremely quickly.
I therefore recommend opting for guided hikes or day hikes.
Alternatively, you can book a tour package to complete the W-Trek or Circuit trail (see below).
3. Weather & Equipment
Due to the high number of visitors, I recommend a trip during the shoulder seasons, i.e., in October/November or March/April, to avoid the crowds. The weather is usually quite stable during these times.
The official high season in Torres del Paine runs from October 1st to April 30th (peak is mid-December to February), while the low season lasts from May 1st to September 30th. Although Torres del Paine National Park is open during the winter (May-August), many trails, camps, and refugios are closed during this time. If you still wish to hike during this period, you should have the appropriate experience and equipment and ensure that the route is open. You might consider hiring a local guide, as the trail can be hard to find after snowfall (they are not cleared).

a) Weather
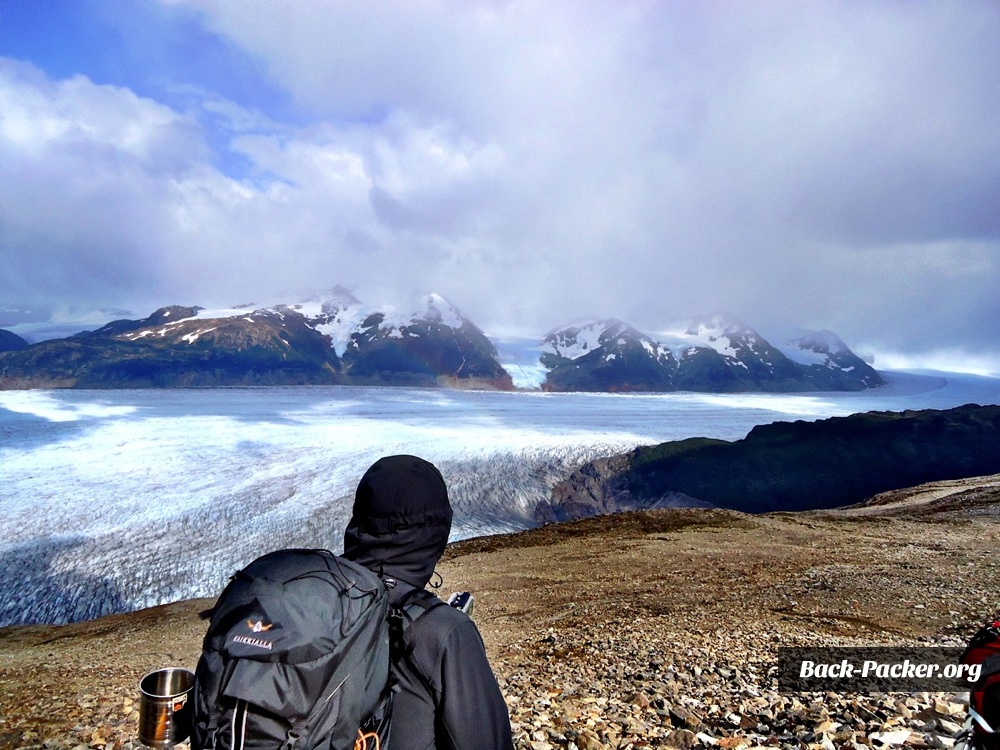
In Patagonia, you can experience all four seasons in one day – snow, rain, wind, and sun. Very strong winds, sometimes exceeding 100 km/h, are not uncommon. Even in summer, you should be prepared for temperatures just below 0 °C.
It's best to check the weather the day before your first day on the trail in the park. Although weather forecasts in Patagonia are often challenging, they at least give you a rough orientation. The rapid weather changes are partly due to the Southern Patagonian Ice Field.
So: Be prepared for everything! 🙂
b) Clothing & Packing List
At the end of February, I was hiking the entire time with a thermal shirt and long hiking pants. If it only drizzled lightly, I kept going without immediately putting on rain gear. As long as I kept moving, it was totally fine. Only during longer breaks, heavy rain, or in the camp did I use a rain jacket and pants. Additionally, I had two sets of clothing: one for the trail and one for the camp. This way, I always had a dry set as a reserve in my backpack.
I used trekking poles and can only recommend them. Especially for the circuit, trekking poles are a huge help on the trail – particularly during steep descents, like after the pass.
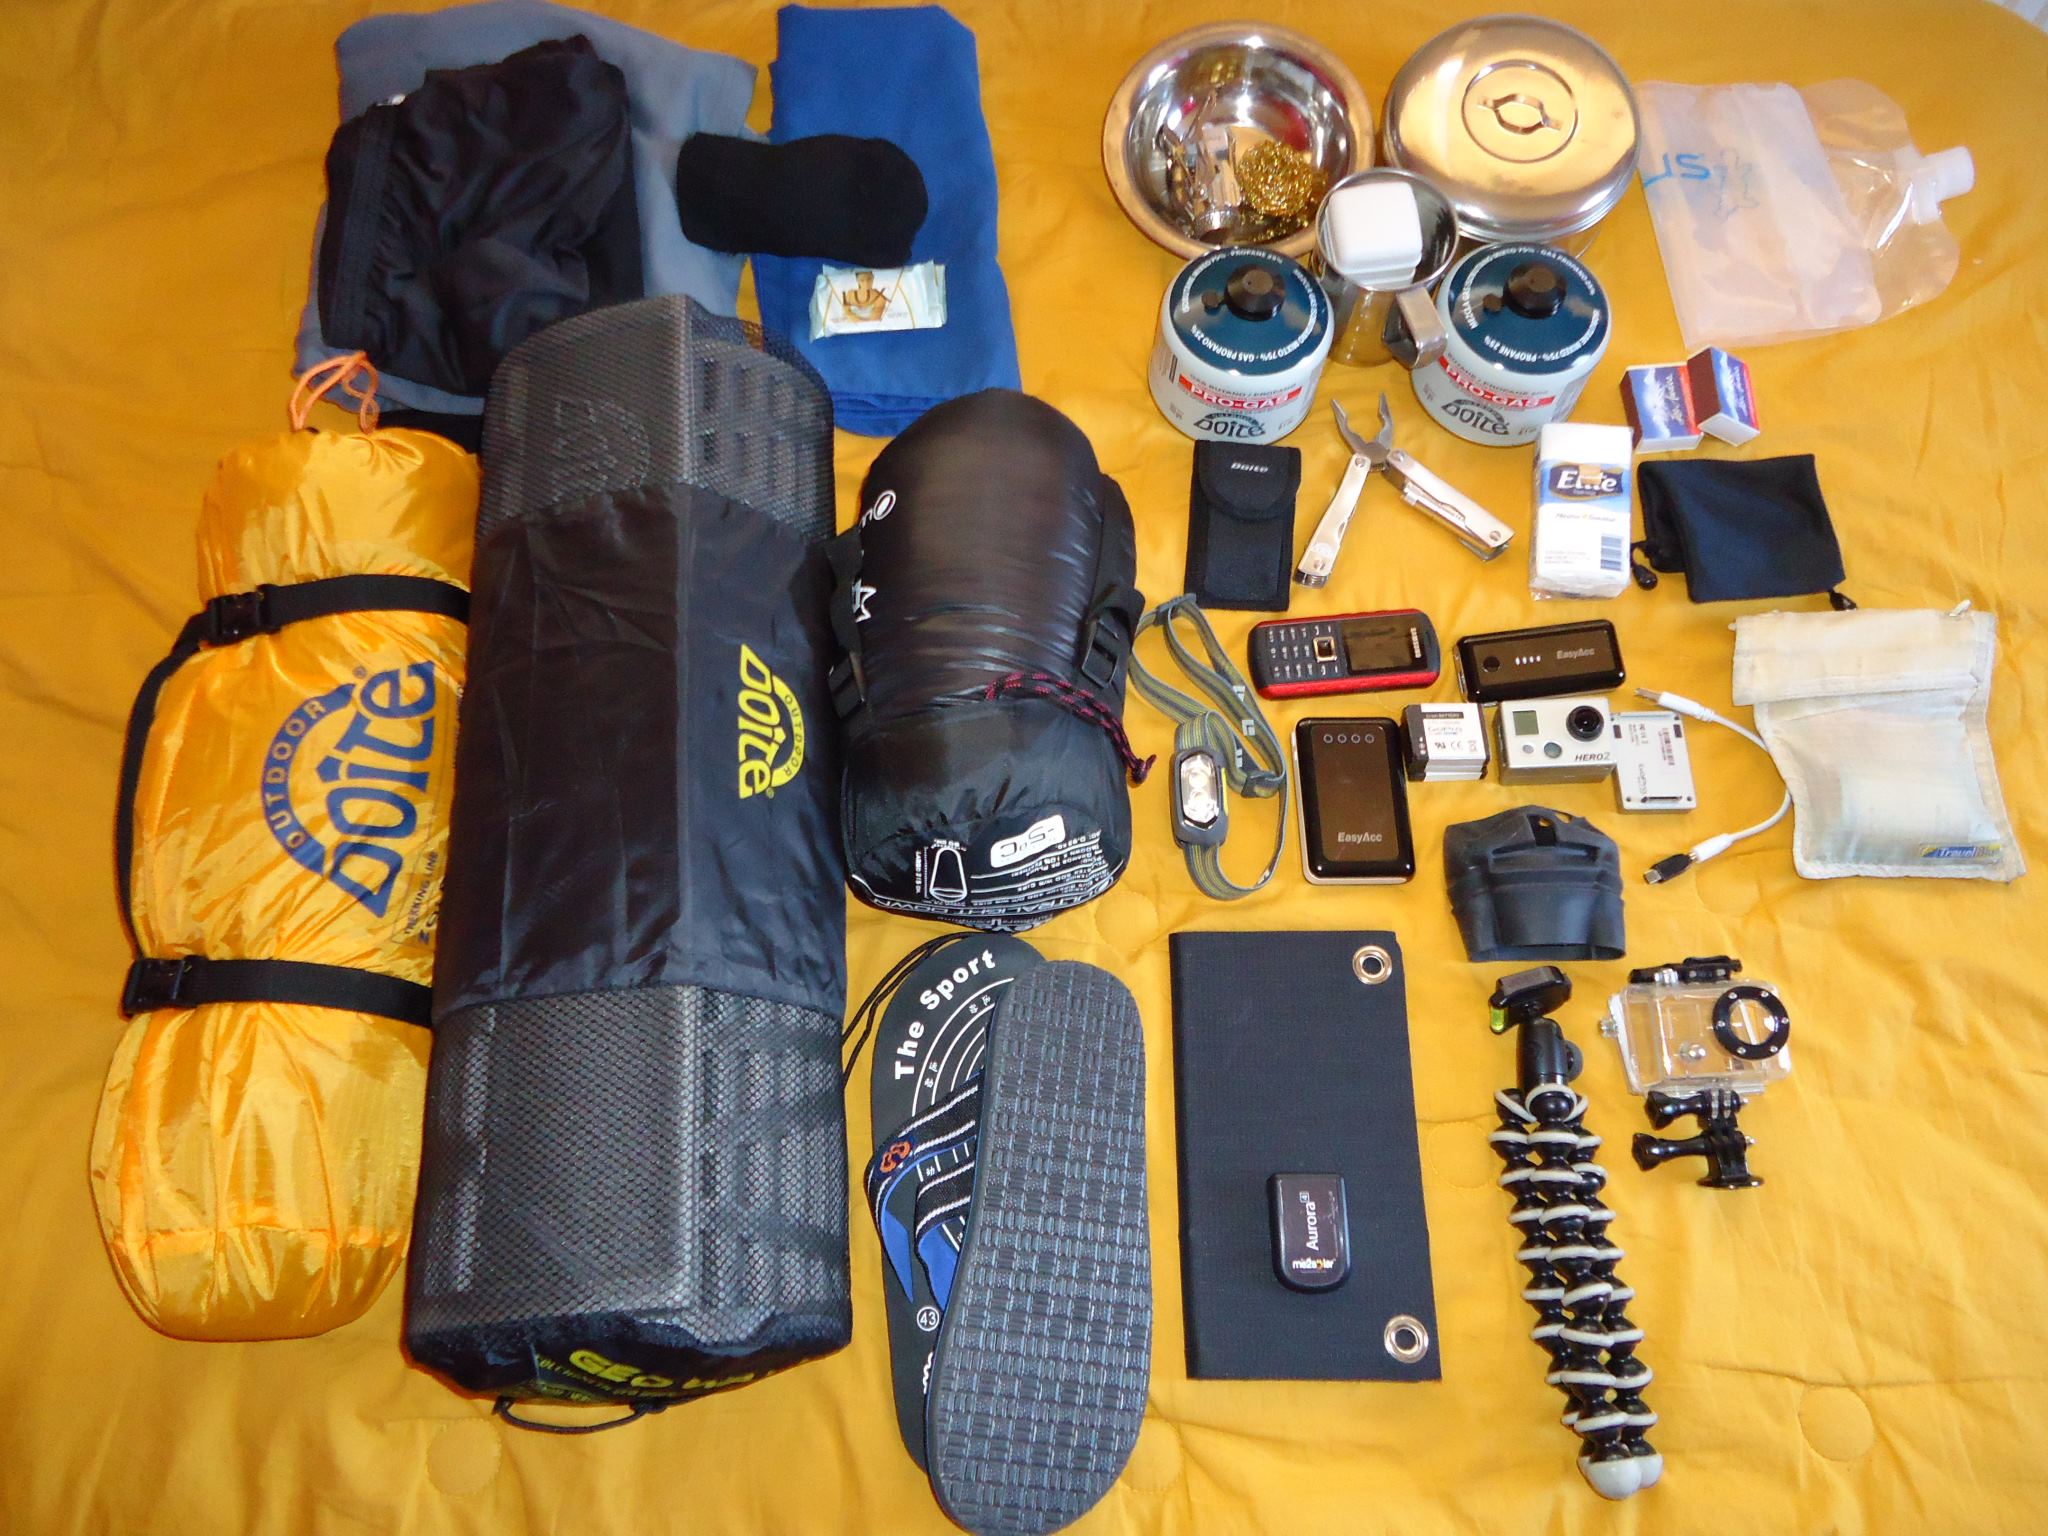
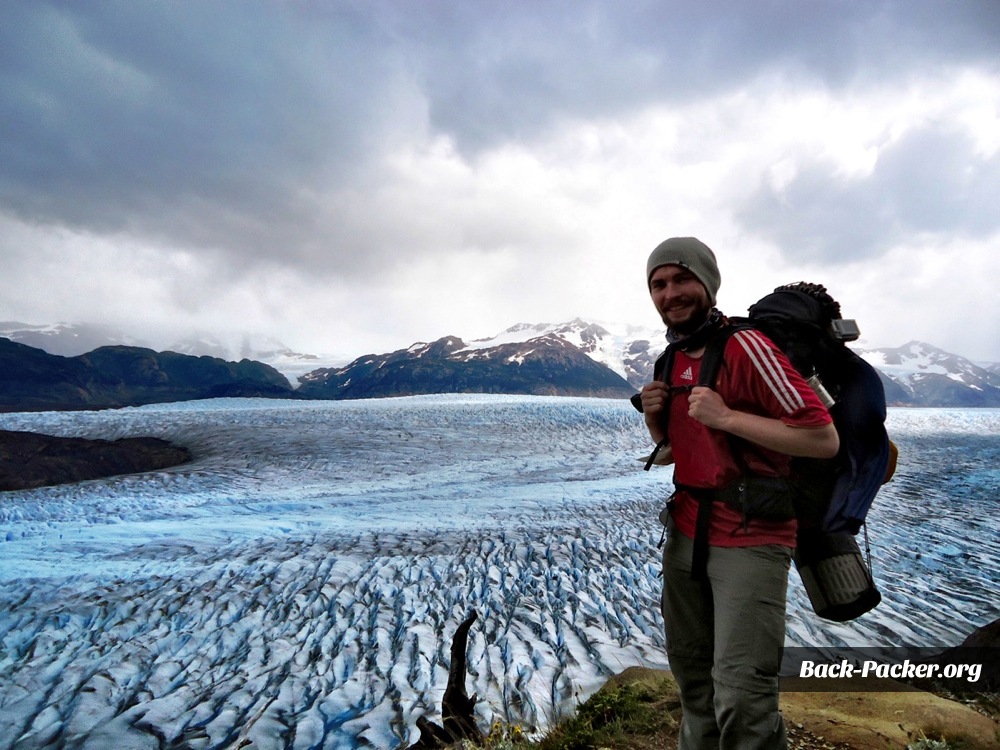
Use this packing list that I have put together specifically for Patagonia:
c) Food
There are different strategies for meal planning on multi-day treks. Everything depends primarily on your individual preferences and needs. Either you pre-portion different ingredients or use trekking food (see below).
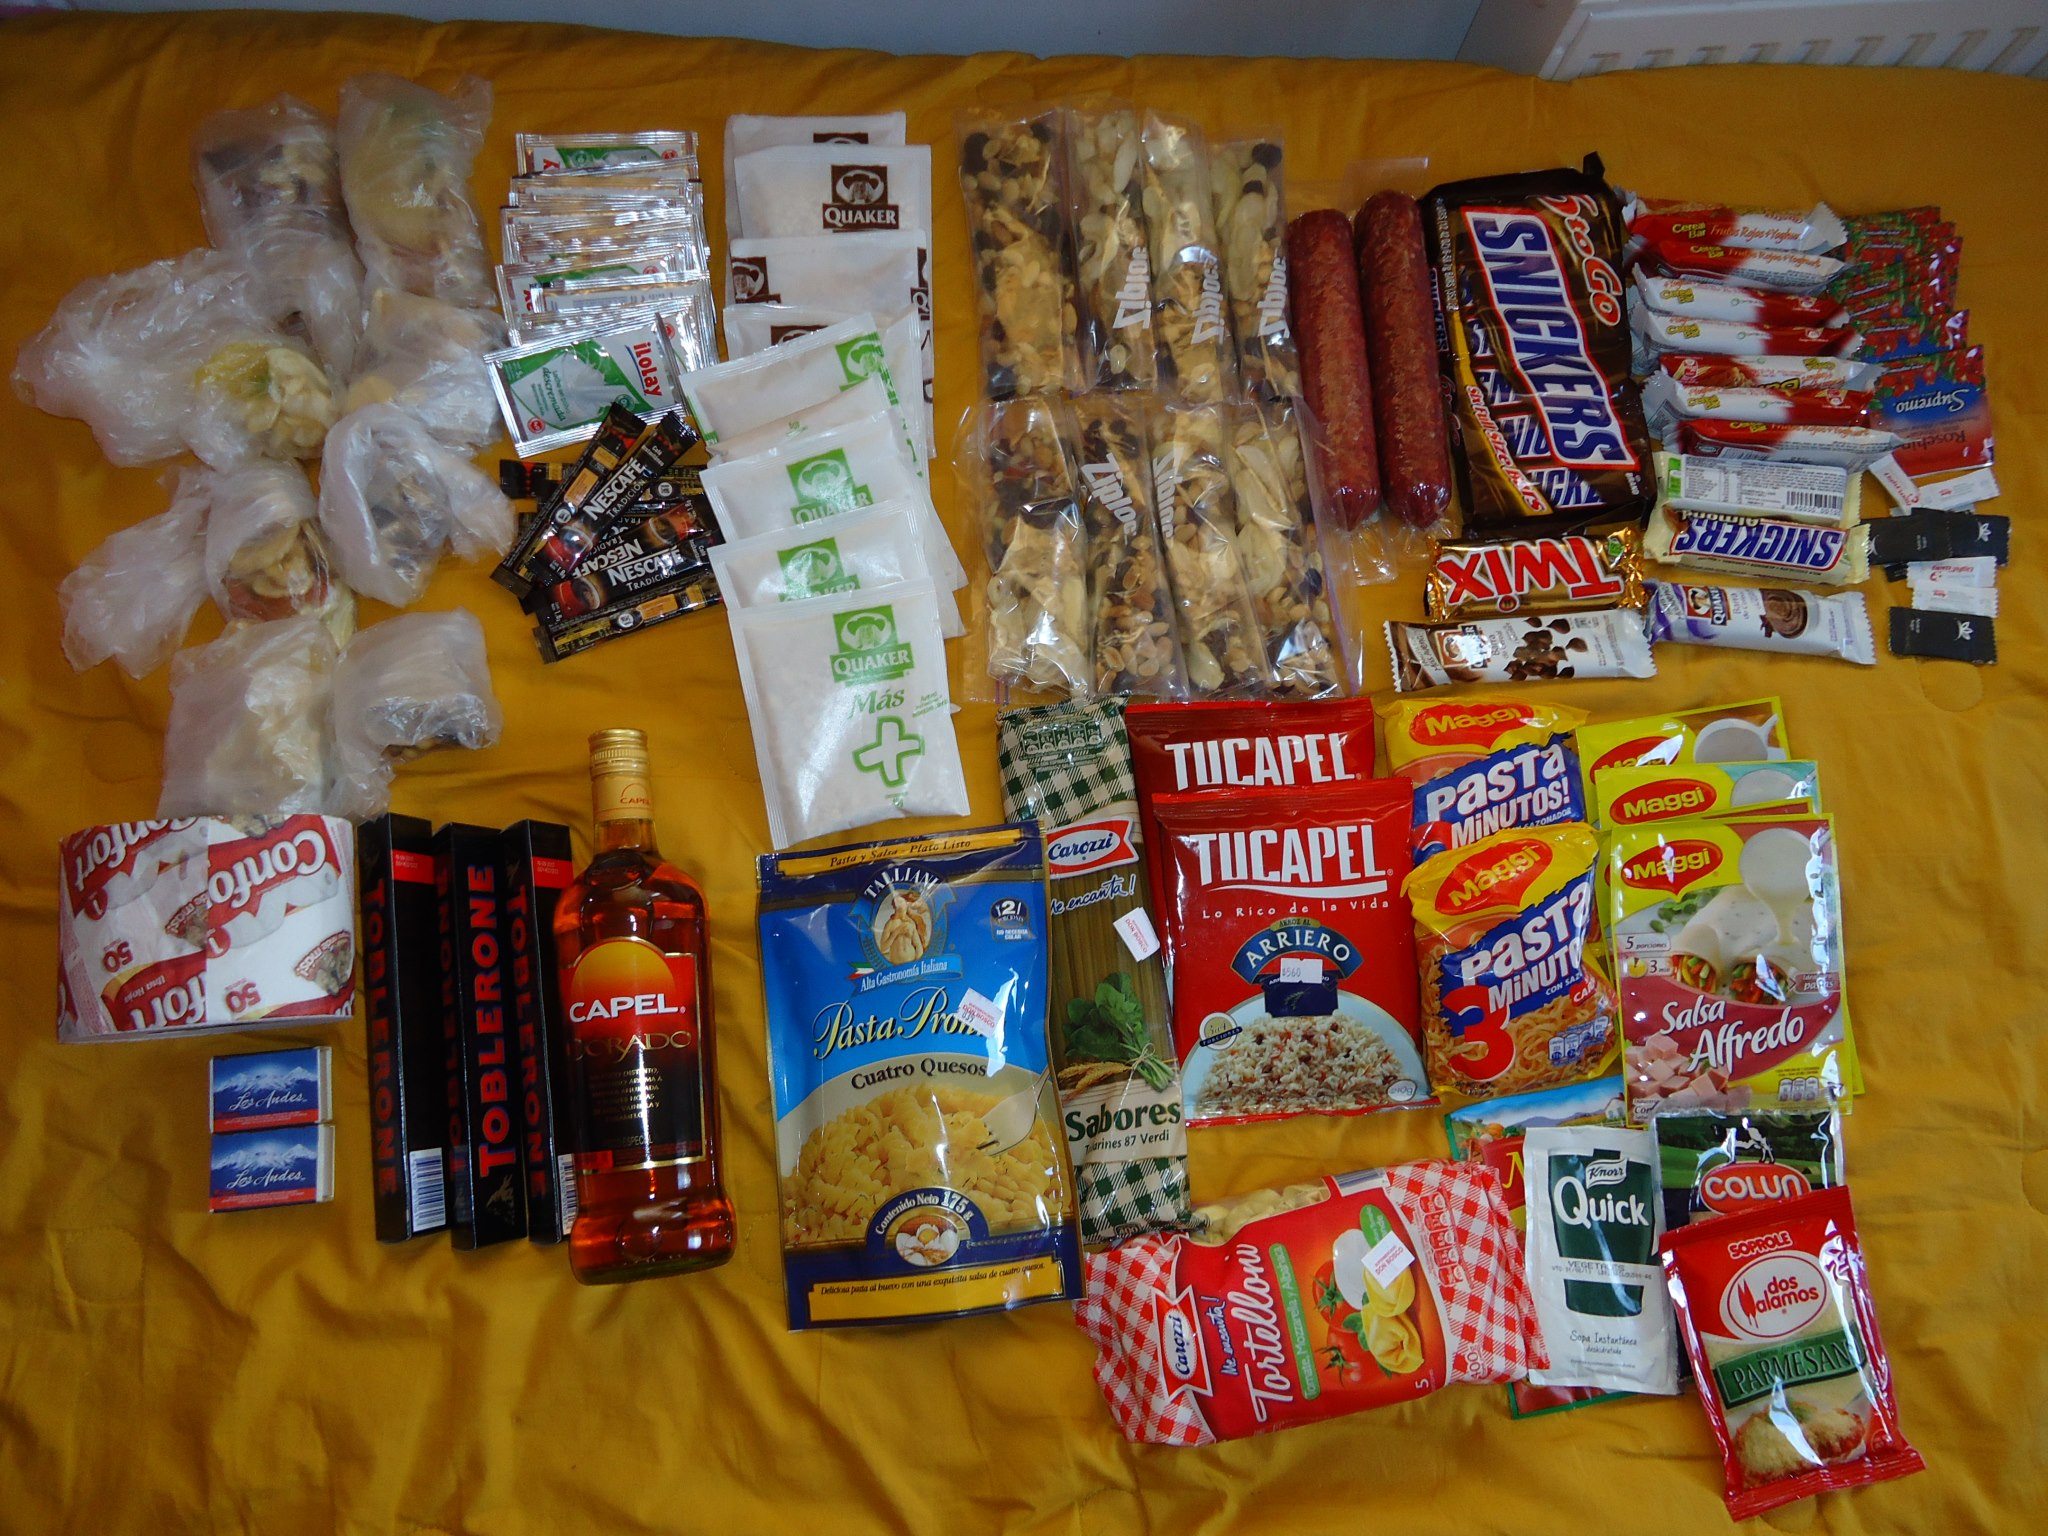
For my 9-day trek, I focused on packing as lightly and compactly as possible, as food makes up the bulk in the backpack. I cooked with a gas stove for screw-in cartridges, which you can buy in Puerto Natales or Punta Arenas. For 7 days, I used 1.5 gas cartridges (breakfast and dinner).
My meal plan looked like this:
- Porridge/oatmeal & dried fruits + tea/coffee for breakfast
- Salami/cheese, granola bars, Snickers (worth their weight in gold!), dried fruits + nuts (small snacks for the trail + lunch)
- 200g rice or 200g pasta for dinner (with sauce powder or packet soups as sauce) + cheese or salami to enhance the flavor 😉
Additionally, it's always good to have some chocolate and sweets to treat yourself. A small amount of alcohol is also a good tip for cold nights (I had 200ml of Pisco with me – also good to celebrate the finale properly!)
Another great option that I tried on my last tour is freeze-dried meals. They are light, easy to prepare, space-saving, and surprisingly tasty. Unfortunately, such meals are hard to find in Chile, so it's worth ordering them online in advance. I personally find the dishes from Real Turmat quite solid – but pay attention to customer reviews, as the quality varies depending on the dish.
Drinking Water
I drank exclusively from rivers and streams – usually, you find a small water source every 20 minutes along the trail. The water quality in Patagonia is among the highest worldwide, which makes planning immensely easier: You only need to carry a cup and a small water bottle while on the trail or in the camps.
However, right next to the trails, at the camp, and in busier sections of the Torres del Paine National Park, you should be more cautious. Here, I recommend going a bit upstream and, to be safe, using a water filter. I'm using filters from Lifestraw and Platypus.
d) Backpack & Camping Gear
Camping is the most affordable option and allows you to experience the park’s spectacular nature up close.
A wind-resistant tent – I’ve had great experiences with MSR tents, particularly the “Hubba” model, which many trekkers on the Circuit also loved.
A good trekking backpack – For longer treks, you’ll need a larger capacity. The Deuter Aircontact and the Osprey Aether are two solid choices.
Find more gear recommendations in my Patagonia Packing List.
4. Prices
The Torres del Paine National Park is considered one of the most beautiful parks in South America and is therefore highly frequented. Naturally, this also affects the price structure. In addition to transport costs, you should also take the following prices into account:
- Park entry costs $39 USD (adults) / $20 USD (children aged 12 and older) for up to 3 days. For stays longer than 3 days, the entry fee is $56 USD for adults and children aged 12 and older. Children under 12 enter for free. You should purchase your national park tickets in advance online at Pases Parques Nacionales.
- Sweets (M&Ms, chocolate bars, brownies) cost between €3–€5 at the mini-markets in the refugios.
- Snacks (pizza/burgers) are available at some refugios and cost around €15–€20.
- Soft drinks range between €3–€5.
- A beer costs between €4–€8.
5. Hiking Routes

My map of Torres del Paine National Park. Hiking trails are marked in green, and roads in the park are marked in yellow.
If you're still unsure which trail or hiking route to take in Torres del Paine National Park, I recommend choosing the Circuit or “O” trek or alternatively staying in the park for a longer period. However, you should have the appropriate fitness level for tackling the full circuit trek.
The advantages of a longer trek: you will walk along stunning trails that lead to breathtaking glaciers, encounter significantly fewer hikers (as the number of trekkers on the “O” circuit is strictly limited), spend more time in the park, and quickly meet like-minded people as you reunite in the camps each evening.
a) Multi-Day Hikes – the W & O
Here you can find my detailed route descriptions for the most popular treks, including maps:
- Hiking guide & route description for the Torres del Paine W Trek
- Hiking guide & route description for the Torres del Paine O Trek
If you're still undecided about which route to take, let me tell you this: the park is breathtaking, and every additional day spent in nature will be worth it. So, if you have the time, you should seriously consider taking on one of the longer treks.
b) Day Trips & Day Hikes
If you want to save yourself the hassle of planning, you can also explore the beauty of the park by doing day hikes or day trips. Enjoy the view from a viewpoint you can easily reach by car or do a guided hike. These day trips can be combined with Hotels directly inside the Torres del Paine National Park or with Hotels in Puerto Natales. I've compiled all the information on trail and accommodation options for you here:
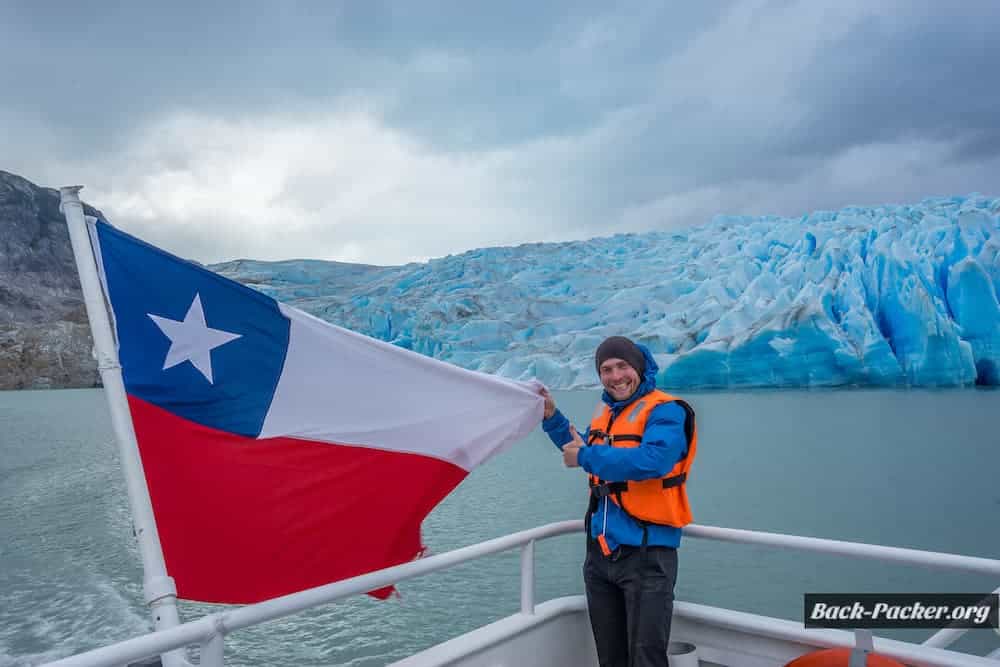
6. Guided Hikes
If you want the full hiking experience a multi-day trek is the absolute best way to see Torres del Paine in all its beauty. By booking a fully guided tour along the trails of the park, you can leave all the organization, rental gear, transport, meals, and the tricky camp reservations to the local experts.
Even though this option is more expensive, it provides you with a hassle-free package including porters and experienced guides who will accompany you on the trail. Among all the tour options, the Circuit trek is my absolute favorite. A guided tour is your best chance to secure one of the limited spots. The following tours are offered by G Adventures, a company I have worked with multiple times in the past and highly recommend for these types of trips:
- W-Trek with G Adventures – 6-day trek including meals, guide, camps, tents/hotel, transport, and porters
- “O” Circuit with G Adventures – 11-day trek including meals, guide, camps, tents/hotel, transport, and porters
- Patagonia Hiking XL – an active 14-day tour covering Patagonia’s top highlights, including the Torres del Paine W Trek, El Chaltén (Fitz Roy, Cerro Torre), and El Calafate (Perito Moreno Glacier). Includes meals, guide, camps, tents, hotels, transport, and porters.
- Patagonia & Tierra del Fuego – an active 14-day tour that takes you beyond Patagonia to Tierra del Fuego, including the Torres del Paine W Trek, El Chaltén (Fitz Roy, Cerro Torre), El Calafate (Perito Moreno Glacier), and Ushuaia. Includes meals, guide, camps, tents, hotels, transport, and porters.
- Discover Patagonia & Tierra del Fuego (National Geographic Tour) – This 14-day tour covers Patagonia’s highlights in the north (Bariloche, Puerto Varas) as well as the south (Torres del Paine – day tour, El Calafate, El Chaltén) and Tierra del Fuego. What makes this tour unique are the exclusive National Geographic experiences and lectures!
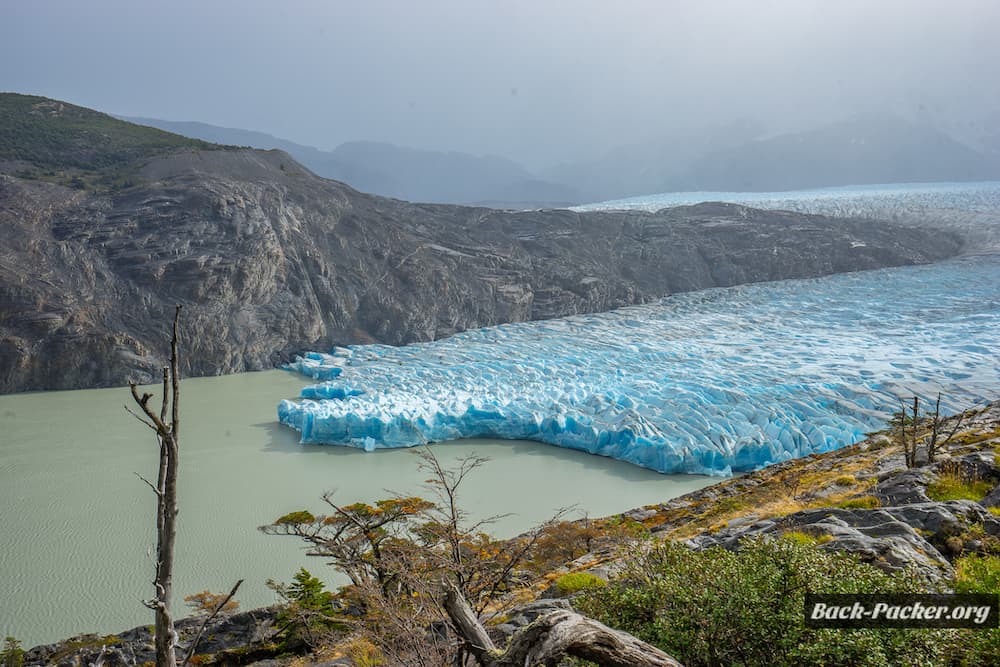
7. Hotels in Puerto Natales
During my numerous visits to Puerto Natales, I have stayed in many different Hotels and Hostels. In total, I spent five weeks in Puerto Natales. My personal favorites are Hostal Los Pinos and the Yagan House. If you're looking for more comfort and want to treat yourself to something special, check out the exclusive The Singular Patagonia. The following table features all of my recommendations.
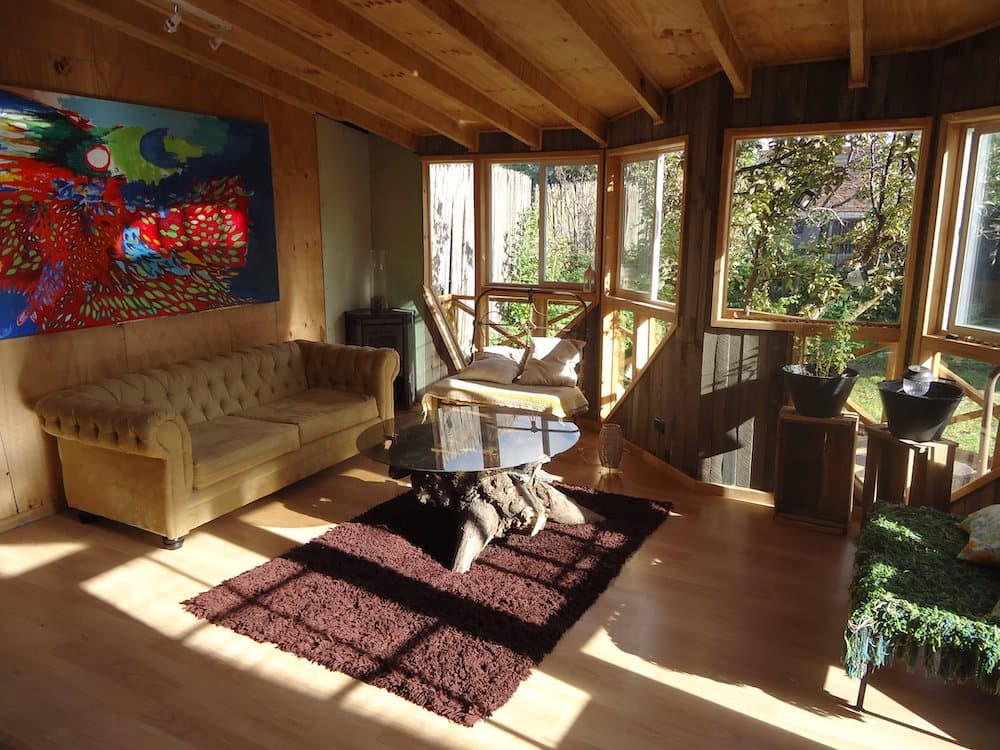
My Hotel & Hostel Recommendations in Puerto Natales
| Budget | Rating | Reasons to stay | |
|---|---|---|---|
| Xalpen B&B | $ | 8.7 | best budget option, modern rooms, awesome panorama from common area, breakfast included (basic) |
| Yagan House | $$ | 9.3 | relaxed atmosphere, cozy common areas, in-house equipment rental, great breakfast, central location |
| Hostal Los Pinos | $$ | 8.7 | good location next to central square, great value for money, breakfast included (basic), friendly staff |
| Hostal Treehouse Patagonia | $$$ | 9.9 | lovely atmosphere, cozy and comfortable rooms, breakfast included, helpful staff |
| Toore Patagonia (***) | $$$ | 9.3 | well equipped spacious bungalows, modern design, comfortable and cozy, good location |
| NOI Indigo Patagonia (Boutique Hotel) | $$$$ | 7.9 | mountain lodge style, great location at the waterfront, awesome breakfast, sauna and spa |
| The Singular Patagonia Hotel (****) | $$$$$ | 9.5 | best hotel in town, luxurious and exclusive experience, pool, spa, incredible breakfast, on-site museum, on-site restaurant (best in town) |
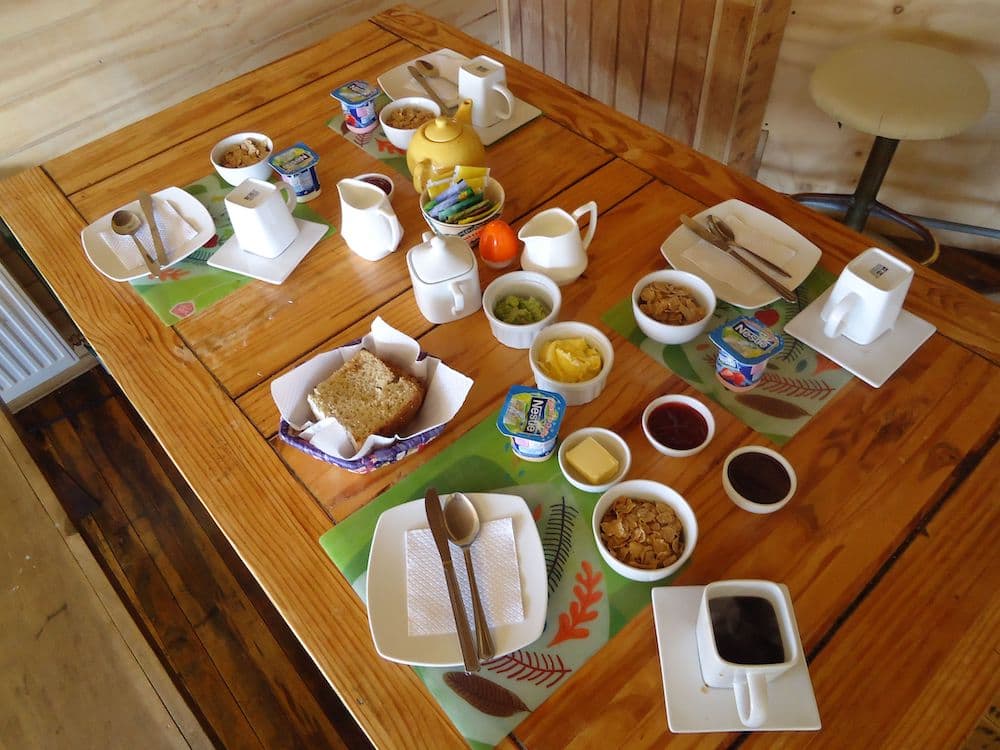
8. Hotels inside the Park
Do you want to fulfill your dream of Patagonia and treat yourself? The hotels within the national park borders offer the opportunity to stay in nature with spectacular landscapes in combination with comfort. Plus, you can enjoy additional tour packages and high-quality dining experiences!
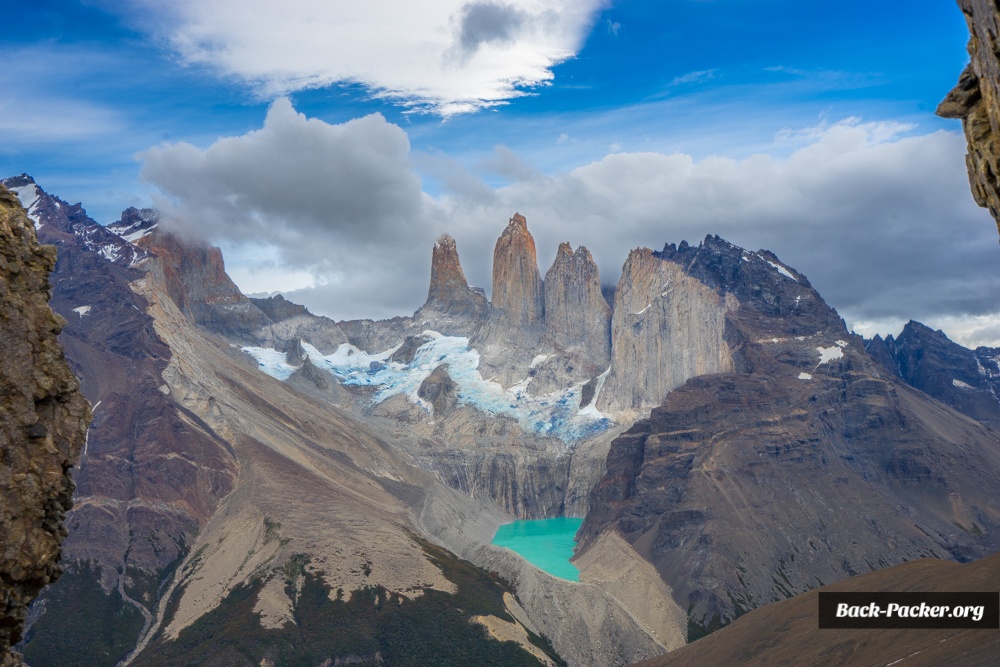
After my second “O” trek, I spent four days at Hotel Las Torres Patagonia and used the time to explore parts of the park I hadn’t seen before. The hotel is located in the park's private sector, which belongs to the hotel and allows for special activities such as horseback expeditions. My personal highlight was the, admittedly very demanding, horseback hiking combination up to the viewpoint at Cerro Paine. This mountain lies directly opposite the famous Torres and offers a breathtaking panorama (see below). The hike is only suitable for those with good endurance, and the tour itself is offered exclusively by the hotel under the name “Huella de Puma.”
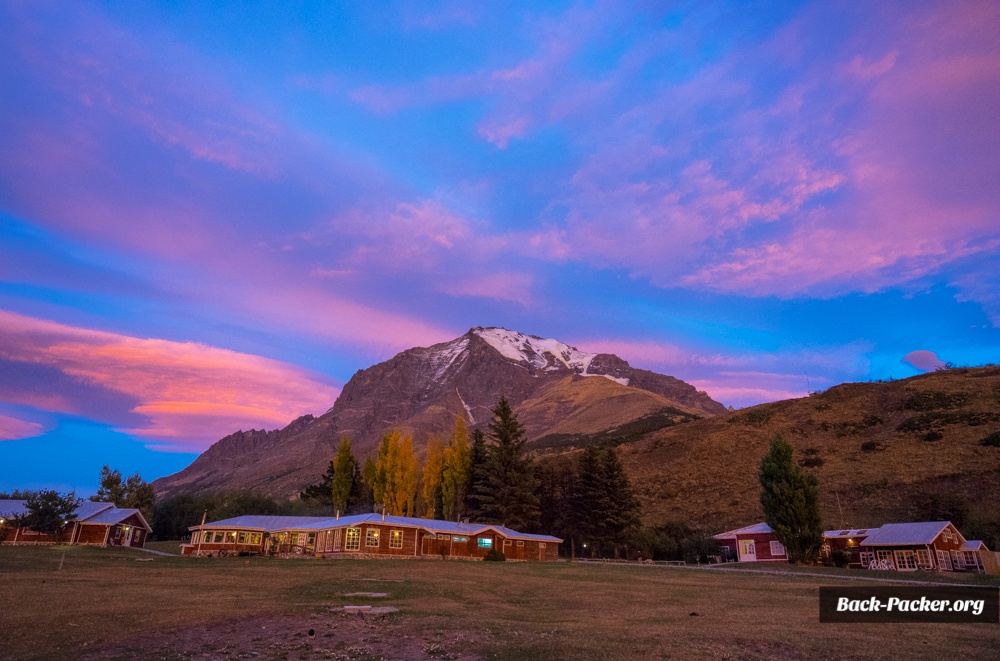
While staying here is on the pricier side, the location is simply fantastic (a perfect base for photographers), the tours are well-organized, the rooms are comfortable, and both the restaurant and bar are highly recommended. There's also WiFi available. This makes it a great choice for those who prefer to explore the park’s trails via day trips or want to end a long trek in comfort.
My hotel recommendations inside Torres del Paine
All of the hotels described here are expensive but offer breathtaking locations and excellent service right in the heart of the national park.
| Budget | Rating | Reasons to stay | |
|---|---|---|---|
| Ecocamp Patagonia | $$$ | 9.1 | location, glamping at its best |
| Hotel Lago Grey | $$$ | 8.6 | close to glaciar grey, incredible viewpoints |
| Hotel Las Torres | $$$$ | 7.9 | tour options, most central location inside the park |
| Explora Patagonia | $$$$$ | 9.8 | Hands down one of the best and most exclusive places to stay in all of Patagonia! |
9. My Video Documentary
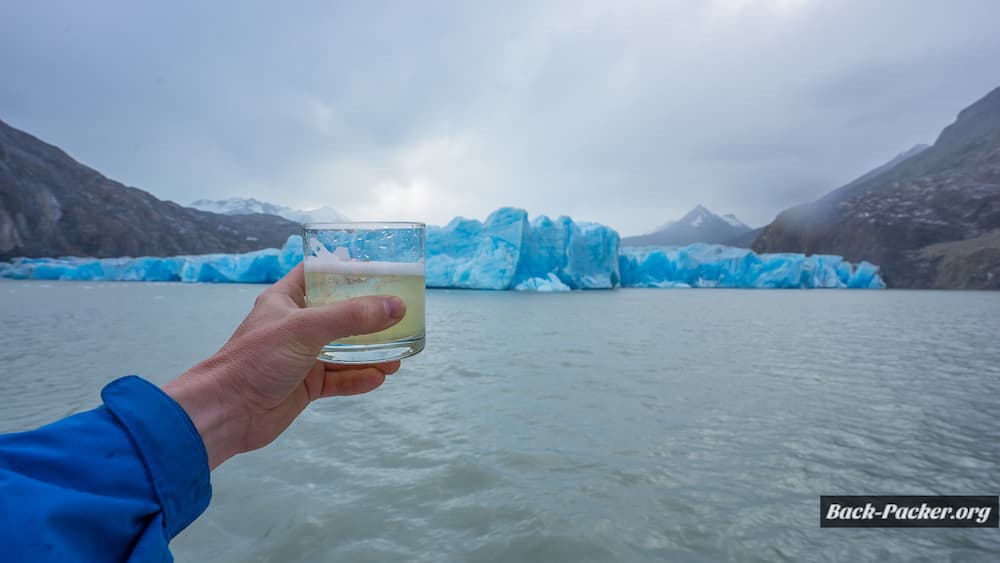
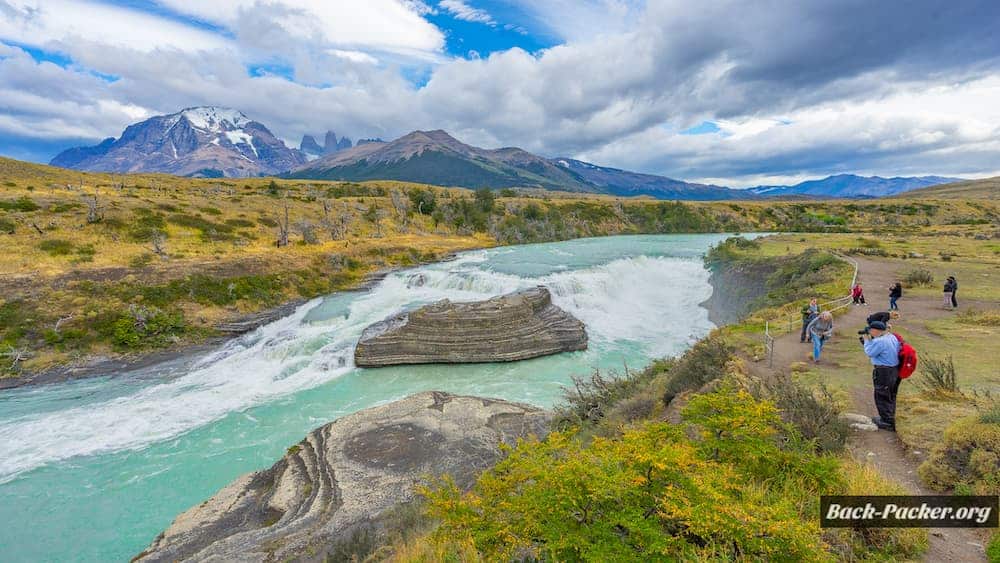
In my documentary about Patagonia, I take you along on the Circuit trek in Torres del Paine National Park. I also go on various day hikes and excursions within the park, including a boat tour to Grey Glacier. This video gives you a better impression of the breathtaking nature of Patagonia:
Have you been to Torres del Paine National Park in Chile?
How was your experience on the trail? Do you have a favorite viewpoint or camp? What would you recommend? If you have additional tips and recommendations for a trip to the Torres del Paine National Park, feel free to reach out to me on Instagram!
Disclosure:
My accommodation at the Hotel Las Torres was provided by the hotel due to the fact that I was filming an episode for my TV show and YouTube channel. Nevertheless I wasn't asked to write about my experience here but decided to include it as I liked it and wanted to share another option for those who want to explore more of the park. All the content I provide from my travels is completely my own. This goes for opinions and views as well as for recommendations.

